Making
a button-box for you sim
A
while back I rigged my very own racing sim in the basement... for
research of course...
Since then I've been looking at other people’s projects to see what more there
is to add to it.
Soon I realized that my research really demanded that I build a button box for
the sim dashboard.
Realizing this I went on a quest. The quest for MORE buttons to play with!
So
here are some pictures and descriptions for other racing sim scientists
thinking of doing the same thing.
I hope this might be of some help and inspiration for some of you. My project
does not in any way represent
the top of the line home built devices. It is very simple and it's the very
first time I ever try to make anything like this.
So if
you're a true electronics beginner, don't worry... If I managed to make it, you
will too!
So,
this is what I did
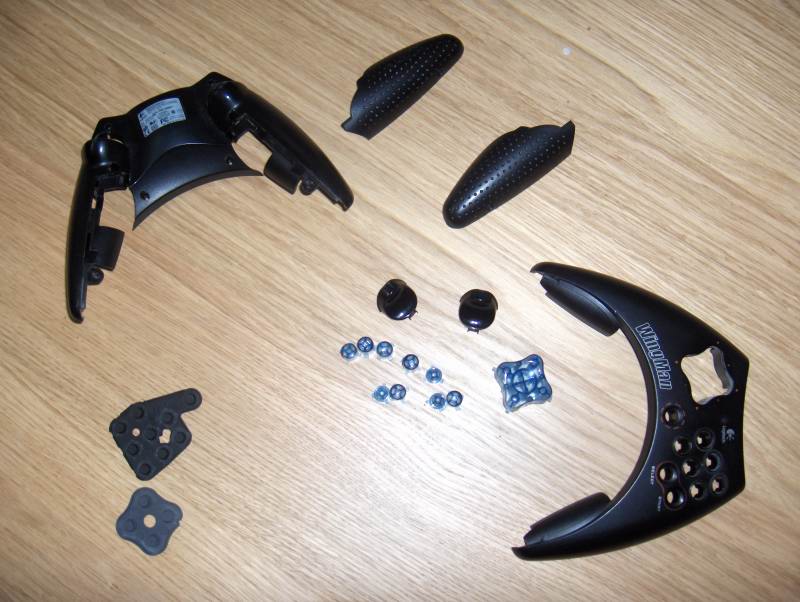
I went and bought:
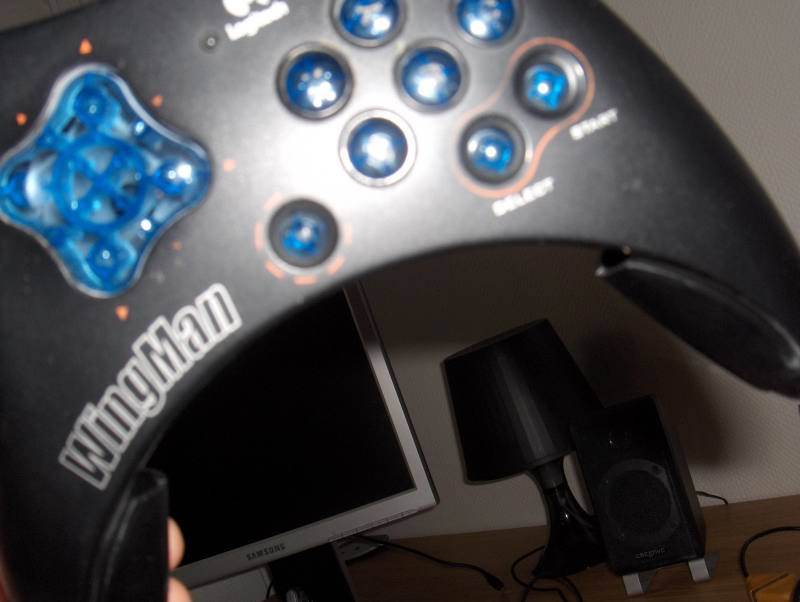
1 old Logitech Wingman controller. I got it off a flea-market for $2.
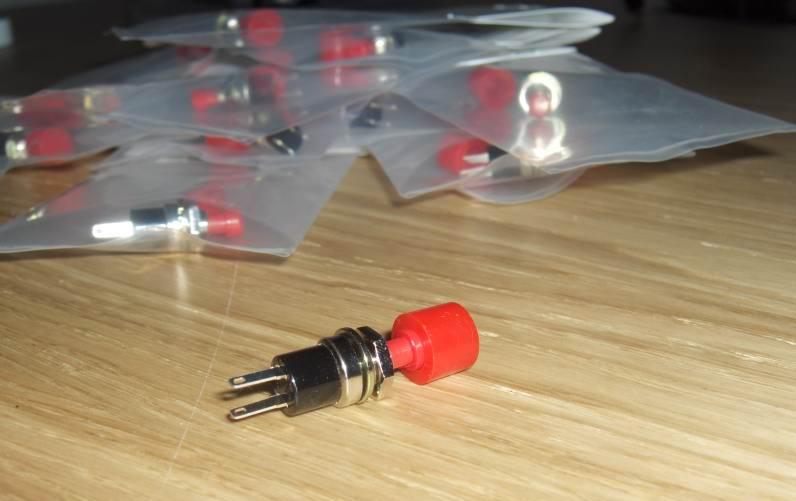
15 nice red buttons
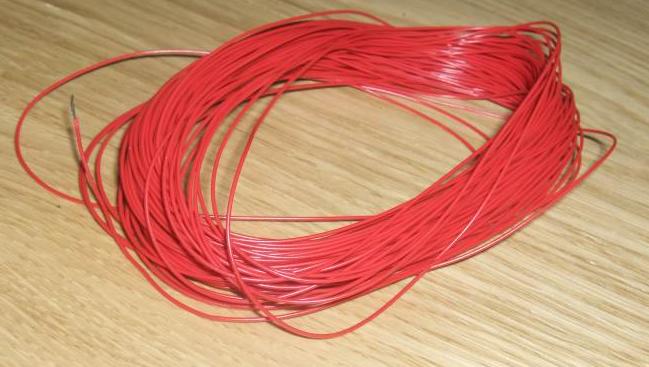
Some wire
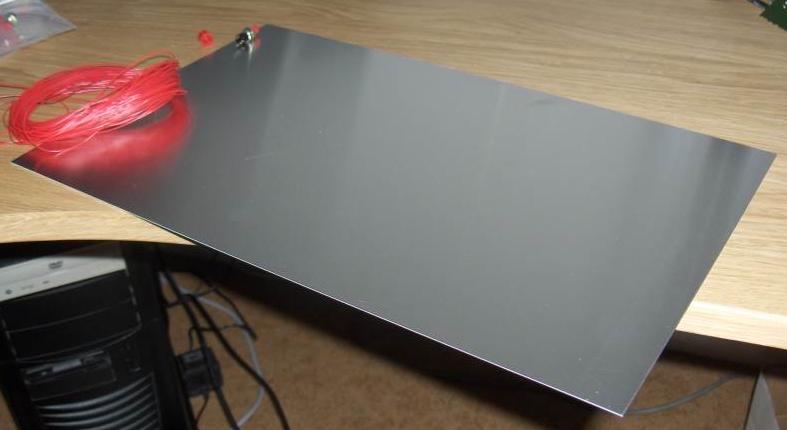
And one aluminium plate.
Everything, but the controller, I got from my local hardware store (Claes
Ohlsson).
The thing that ended up most expensive was the buttons.
Anyway...
I butchered the
controller...
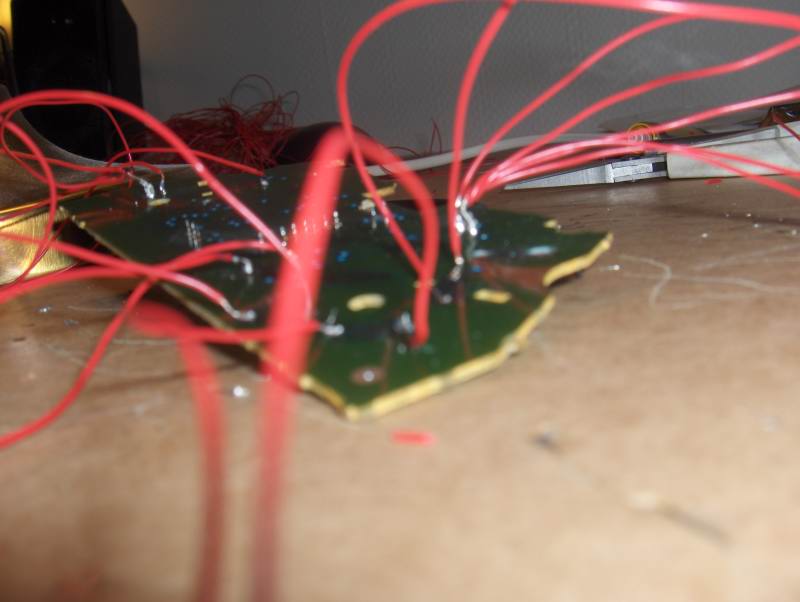
And found this inside:

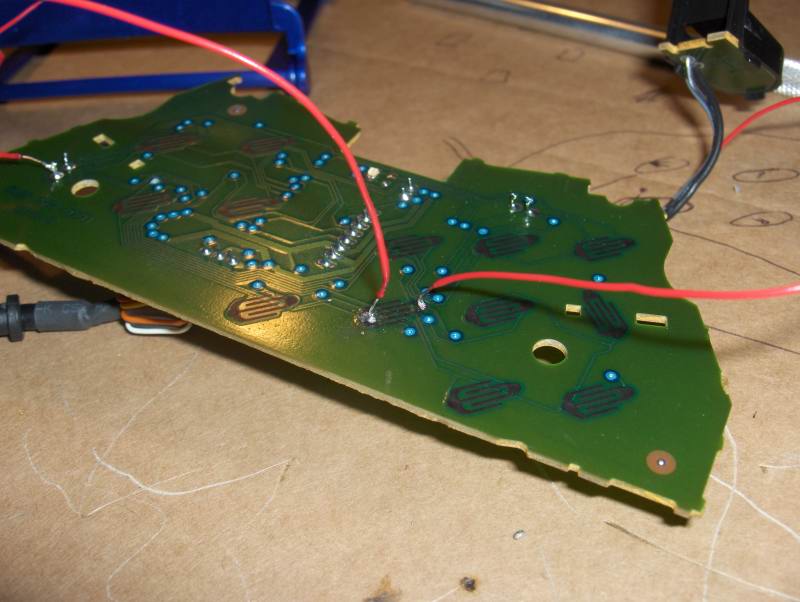
Flipping the circuit board over it looked like
this:
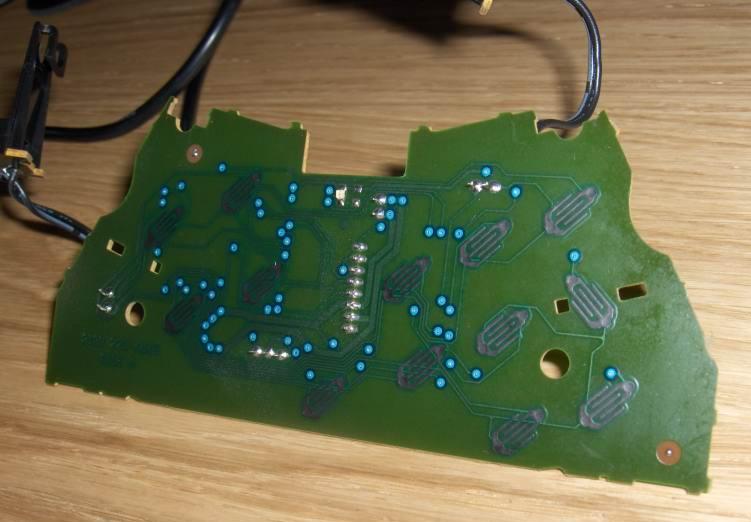
Here you see 13 connectors. There are two more on the
other side.
The grey surfaces had some weird material to it
that the soldering tin just wouldn't stick to.
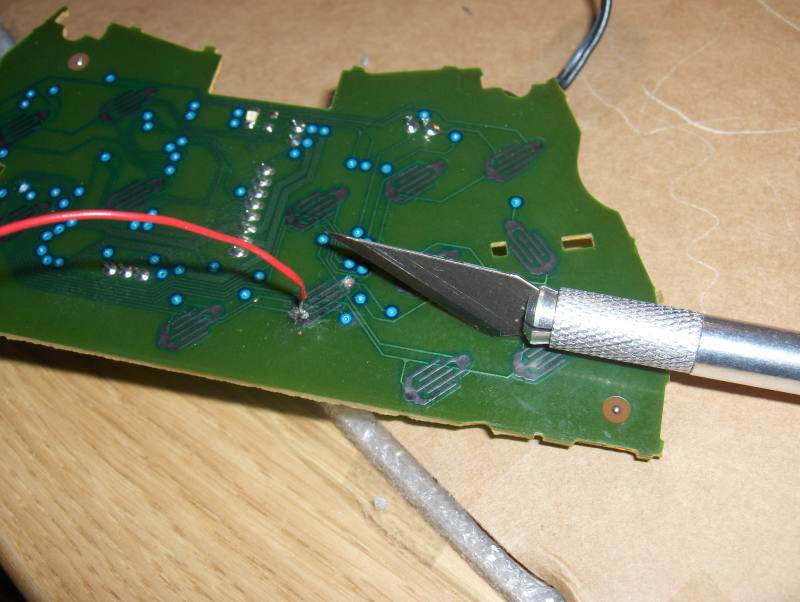
So I used an exacto blade to scrape it off, revealing the copper under it.
I roughed up the surface a bit to make the tin stick even better.
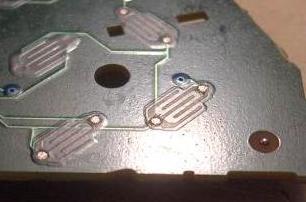
Three scraped ones, and one unscraped
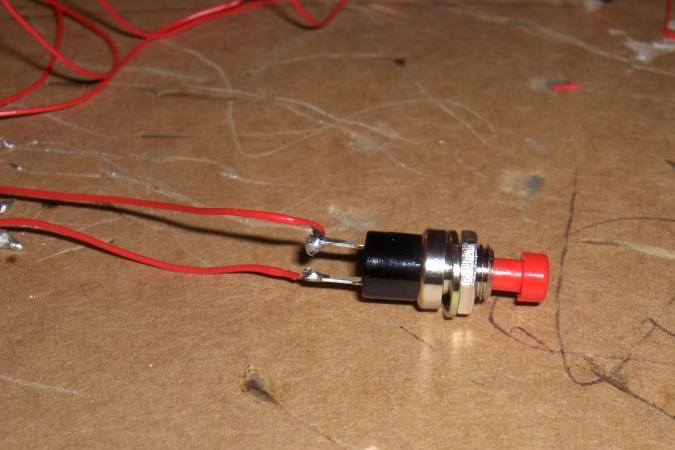
I soldered two wires to each connector
In the other end, of course, I attached a
button
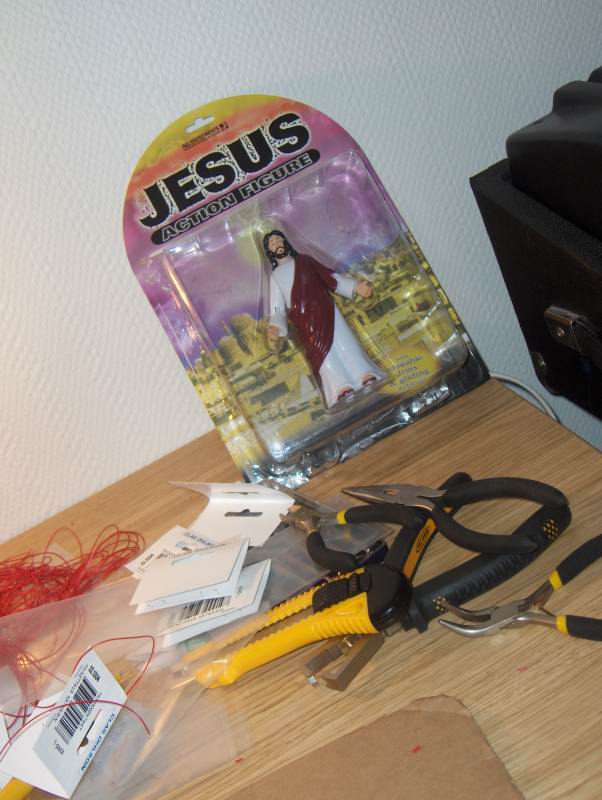
Jesus watched over the whole process
Then I connected the controller and tried the
button
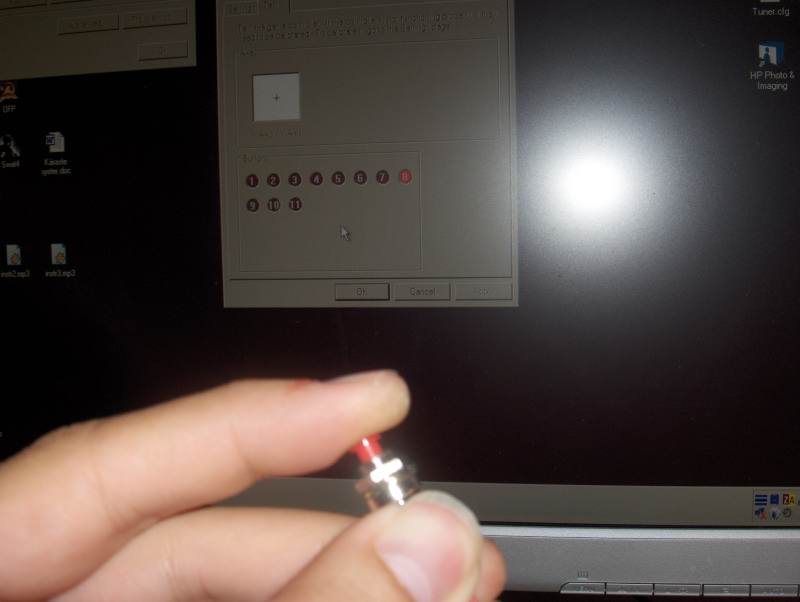
Wohoo! It works!
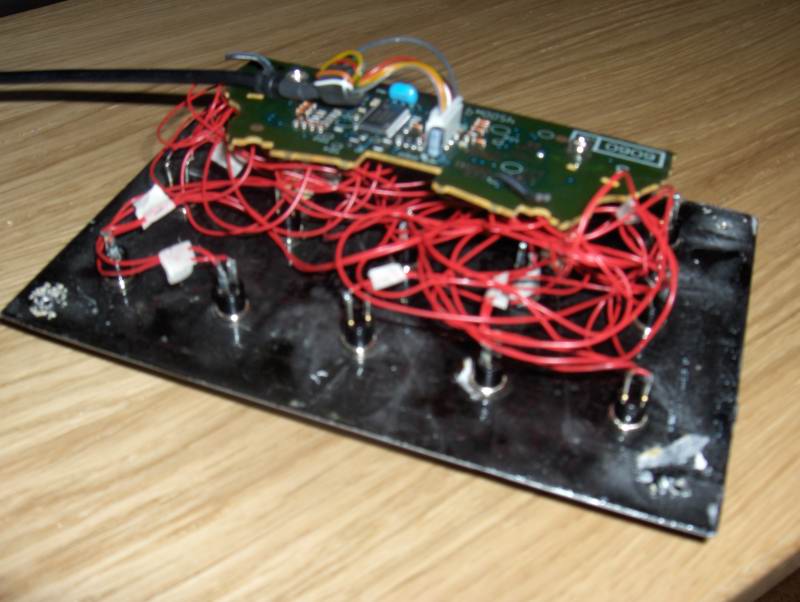
I continued soldering the wires...
And the buttons...
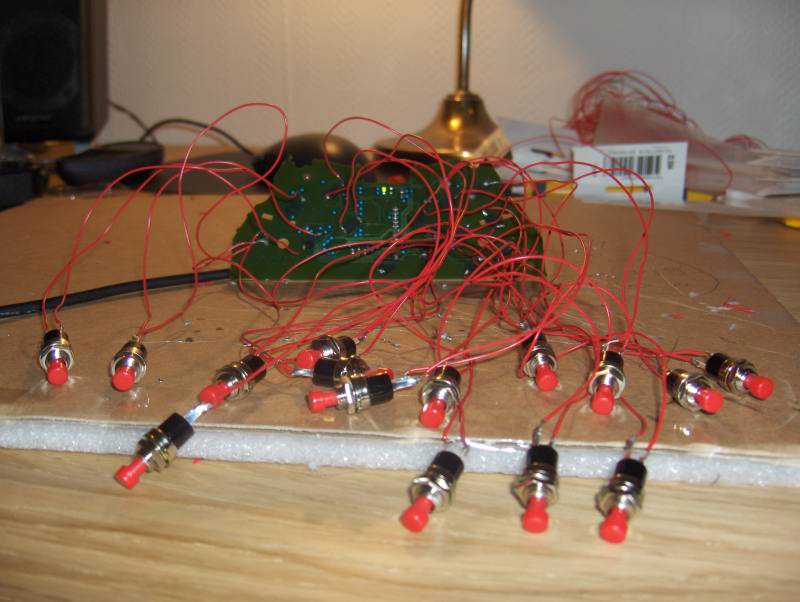
As you can see there is 15 buttons. This controller actually
had 11 buttons and a cross. But since there was
no analogue switches on this controller I made the four directional connectors
into buttons too.
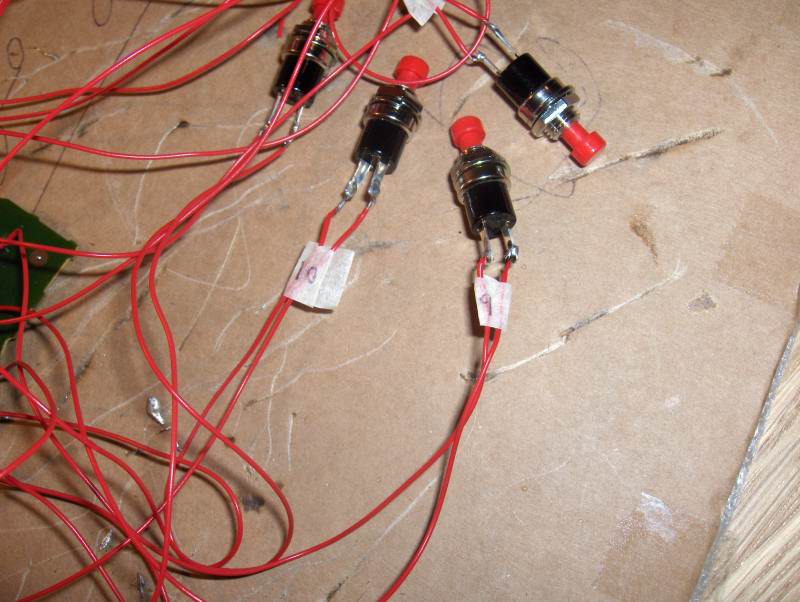
Then I numbered the buttons to make sure I
would mount them in the right order.
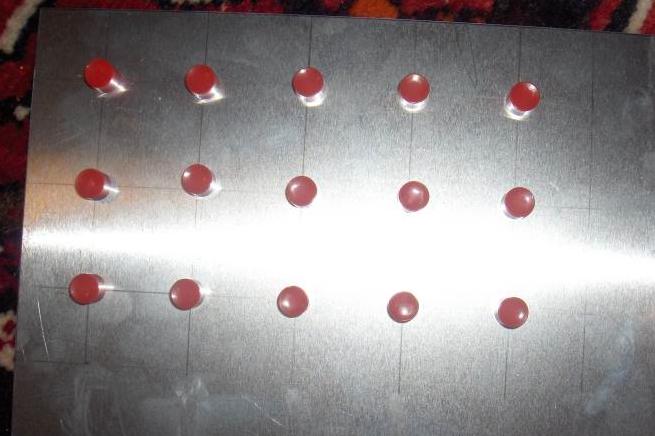
Now it's layout time!
I need to decide how to place the buttons.


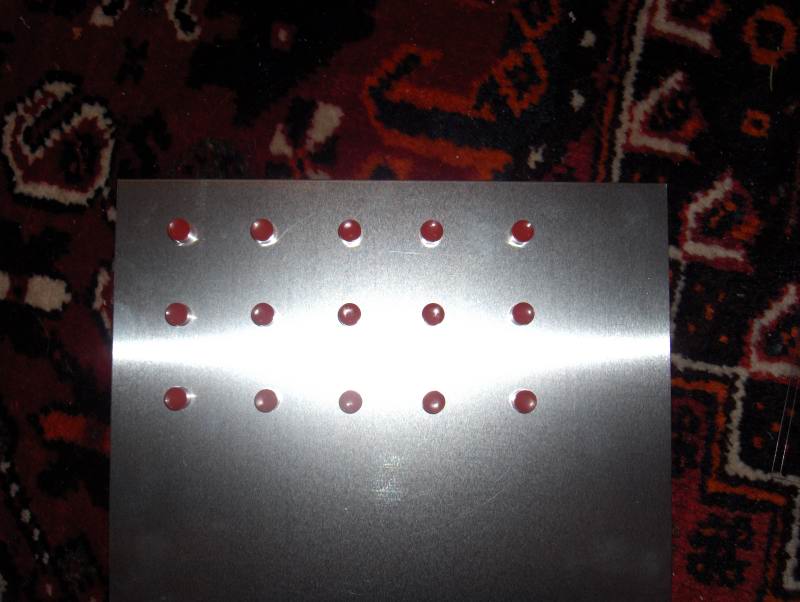
Here's four different layouts I tried out...Some
better, some worse.
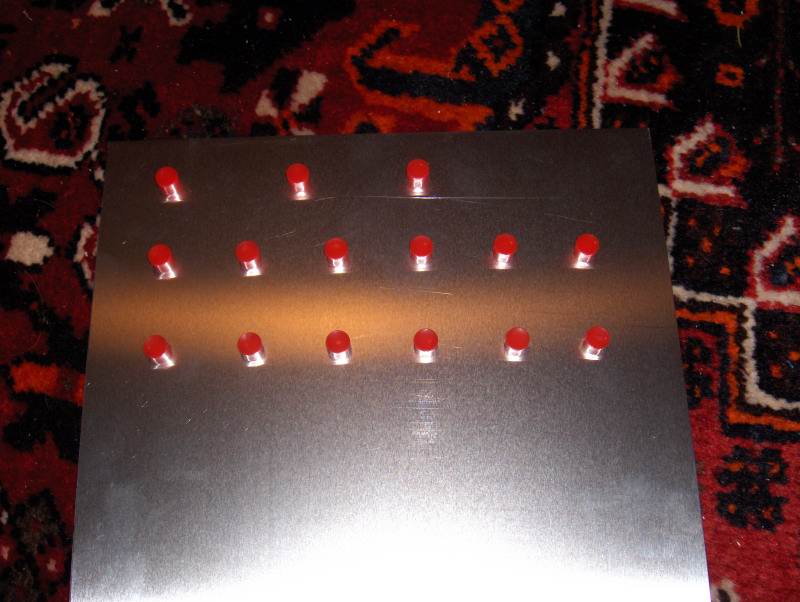
This
one came out the winner
A carefully measured and marked where I wanted the buttons to end up.
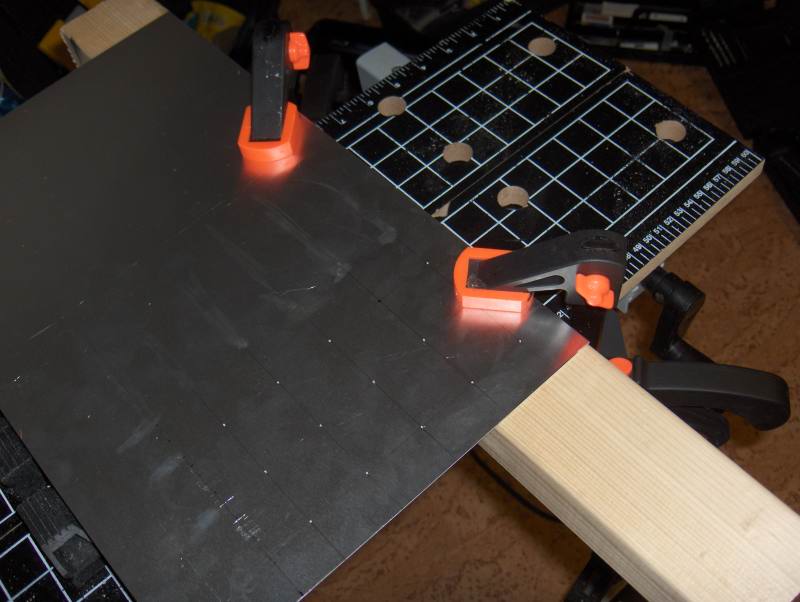
I made small markings with a sharp nail before
drilling, to keep the drill from spinning off the marked spot.
Then I drilled
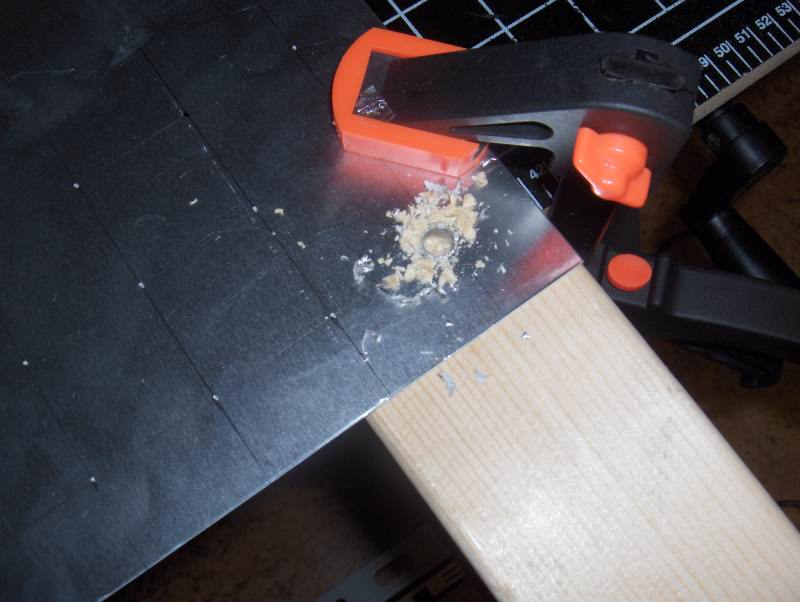
I kept some wood under the plate to make it easier to
drill. Also it
will keep the plate from being dented.
At this point my wife took a trip with our
camera so a few steps is not documented.
I sanded the plate a little bit rough, to make the paint stick better.
Then I spray-painted it black, and spray-lacquered it to protect the surface.
Also, I mounted the buttons and glued the caps on.
I
wanted to attach the board to the back of the plate to make it easier to mount
in different ways.
So I took two short pieces of dowel, drilled a screw hole in one end and glued
them to the board with
some heavy duty glue (super glue will probably do just fine)
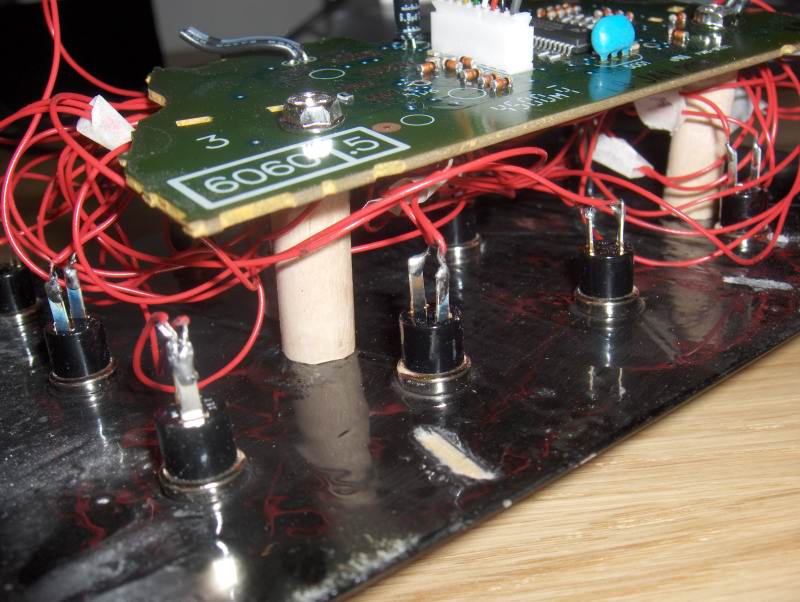
I used computer case screws for mounting.
The inside is painted too. By mistake...
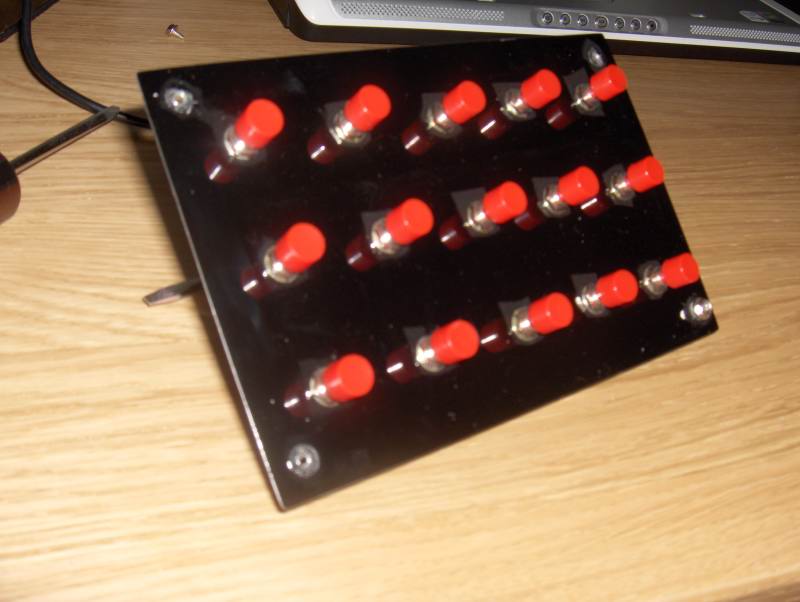
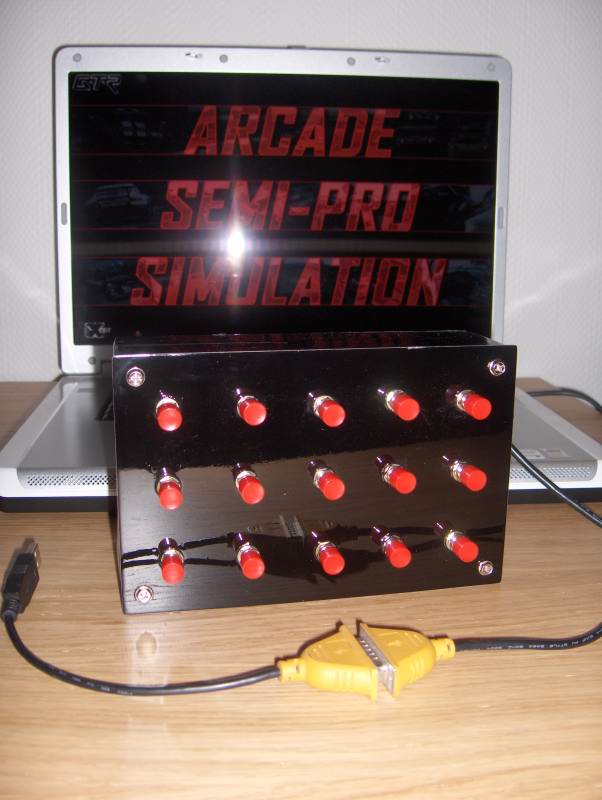
So
here's how the front ended up:
I made a small box for it, just for the moment.
My daughter liked it.
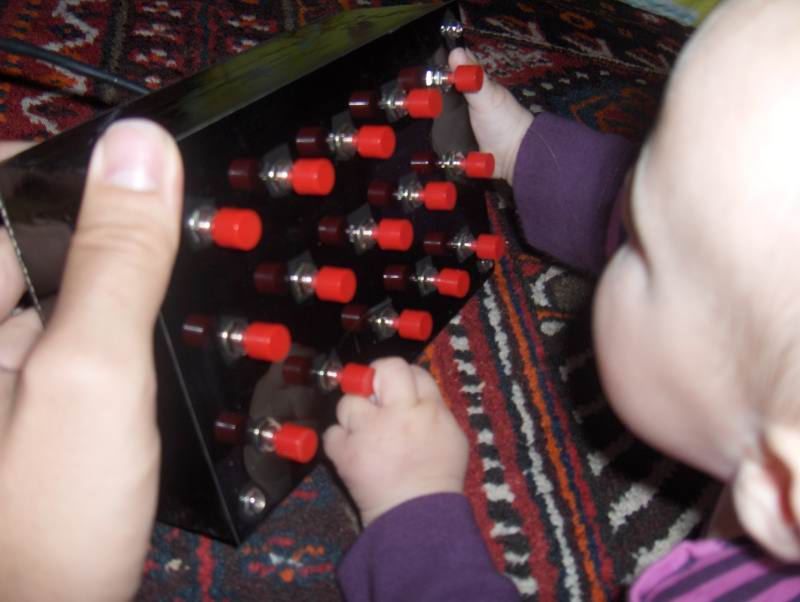
Future simmer.
FINISHED!
If you have any comments, questions or such.
Feel free to contact me at my email:
info@altoguitar.com
Also there is tons and tons of information at
http://forum.rscnet.org
Nothing of this would have been possible without the inspiration
from the people over at the Race Sim Central forums
Have a nice sim day!
See you at the track!
Christoffer Wadensten, Örebro, Sweden